INSTRUCTIONS
Step 1- Set Up Easel & Canvas
- Flip fasteners to adjust leg height.
- Use secure clamps to attach cross-bar and tighten fastener.
- Loop the Velcro strap around the back leg to stabilize easel.
- Slide top rail threw crossbar insert and tighten fastener.
- Use top clamp to secure easel.
- Place easel evenly on ground.


Step 2- Blow Up Balloons
- Insert pump tip into balloon and inflate balloons.
- Balloon should be around 5 Inches inflated in width. (Balloons can be slightly over pumped for slight air loss during Paint Filling).
2-Way Air Pump saves time and effort, ensuring a consistent and professional look. It eliminates the need for manual blowing, preventing dizziness and physical strain.
Step 3- Fill Balloons With Paint
- Loosen screw lid of the 1 oz squeeze bottles.
- Insert the bottle tip into the balloon and squeeze paint. (Try to create an air-tight seal around balloons while squeezing paint).


Step 4- Seal Balloons
- Pull the neck of balloon.
- Twist balloon neck.
- Wrap one end of balloon neck around the plastic tie.
- Loop the other end of balloon neck on plastic tie.
- Balloons can be wrapped multiple times around tie.
- Seal Balloon
Balloon ties are ideal for sealing balloons quickly and securely. They save time and effort, ensuring balloons stay inflated longer without the need for knots.
Step 5- Secure Balloons on Canvas
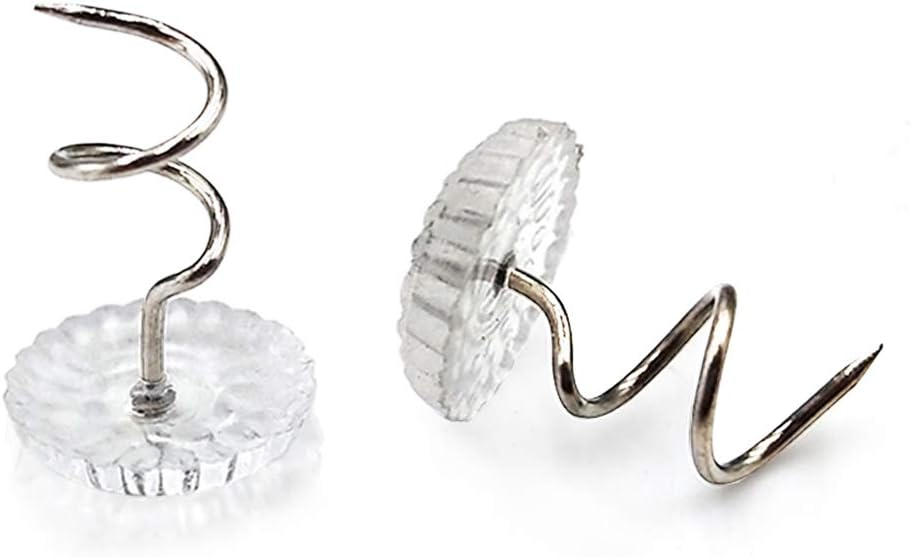
- Drive the tack through the lip of the balloon.
- Tack balloon threw canvas.
- Screw tack clockwise to prevent balloons from falling.


Step 6- Throw Darts & Make Some Art
Let the darts fly and watch your work of art pop onto the canvas.

